As i have mentioned before this build requires us to layout the fabric in an orientation which makes the Icarex square to the outside edge of the sail. The orientation that is indicated in a build is important and should not be overlooked. It is to try and minimise any unwanted stretch in the material over time. I say 'unwanted' as a designer may well intend fabric to stretch to give a sail camber, thus running the orientation in an unusual manner, but this is in the minority.
Before cutting I have compared the Icarex scraps to each other and they are all pretty true across the range. What I mean by true is that they all have similar 'grid' spacings and the grid runs square. I have had Icarex in the past where the grid has been way off to other pieces in size and 'straightness' and although this can't be helped I like to try and get my 'grid' to run square from one Icarex panel to another i.e. lines meet up. However, orientation trumps neatness so don't fret it this is difficult to achieve.
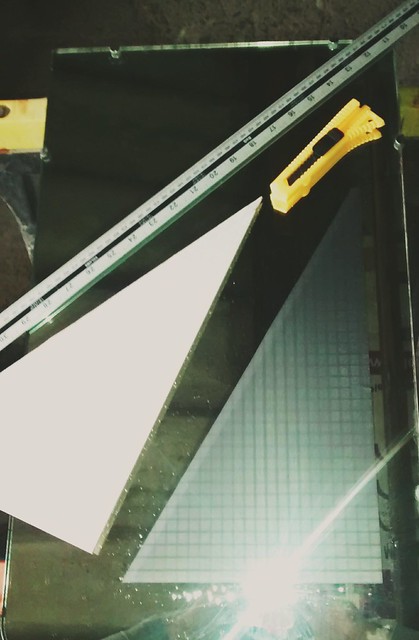
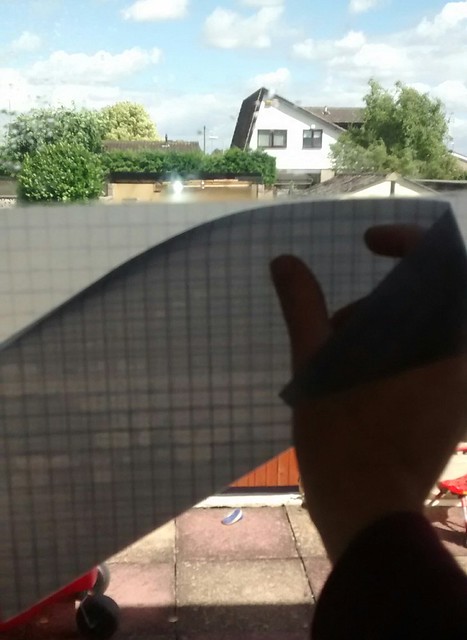
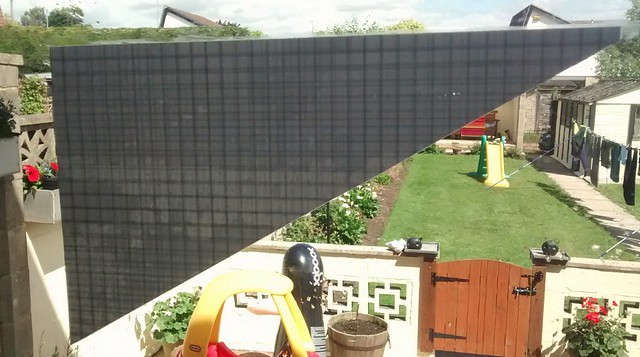
So, first off lets grab that spray bottle of water and just clean down the mirror. Once done and dried off then spray a light misting of water onto the surface. Note the word light, you don't need to use much. Then take your piece of Icarex and lay it down starting in the centre and working out to the edges. You should literally see the water sucking the Icarex down and there is a good chance it will be flat straight off. If there are any bubbles or creases then just work them out. Once down flat the Icarex won't slip anywhere unless you want it to.
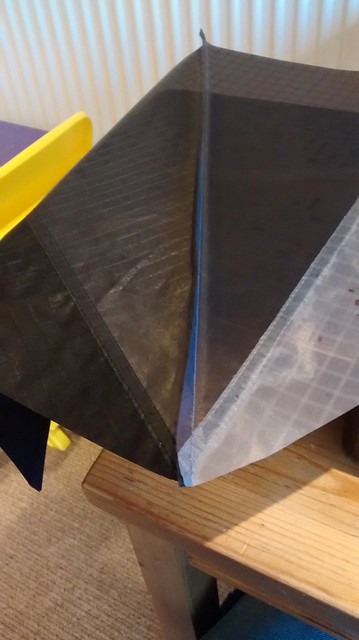
If you take a look at this first photo you can see the Icarex flat on the mirror and over to the right evidence of the water misting:

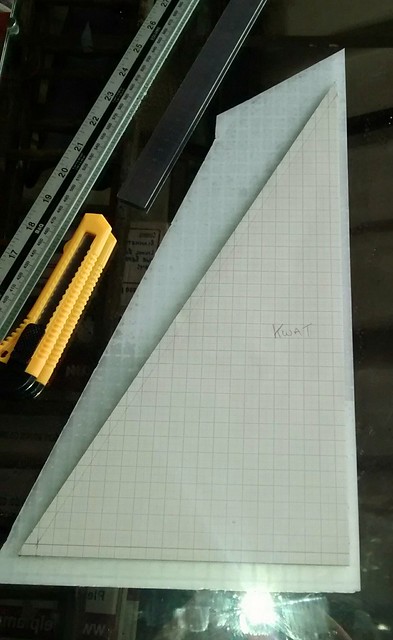
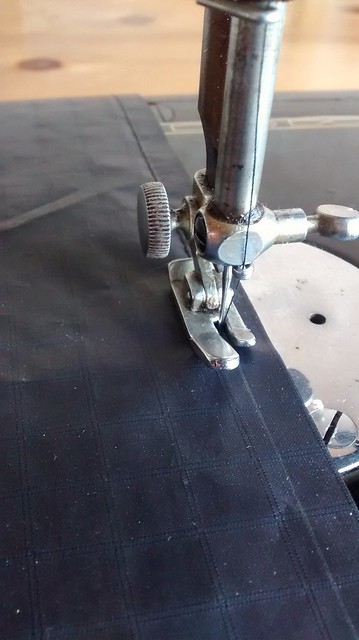
I then take my time and square the template onto the Icarex. Now I found that the corrugated board I am using sits down pretty nicely on the Icarex and didn't really want to move around, however in the past I have been known to stick a few small squares of scrap Icarex onto the back of the template and then putting a dab of water onto the scrap sqaures and then place the template down onto the fabric. These small squares have helped the template to grip the fabric. You may not need to do this so experiment.
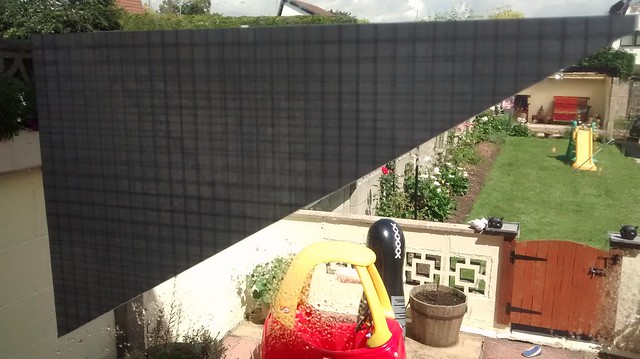
You can see in this photo the template squared onto the fabric:
If you are working on a light table (or a piece of glass with a light under it) you could try laying up more than one piece of fabric on top of each other, putting a spray of water mist between each layer, getting the 'grids' sqaure to each other and then try cutting out multiploe panels at a time. It does work but I would say try it first on some scraps before cutting for real. It could be an expensive mistake if it goes horribly wrong.
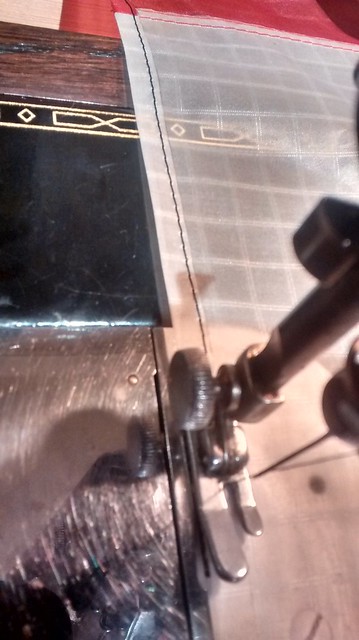
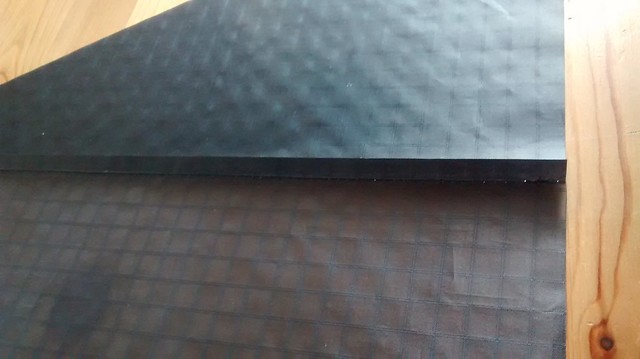
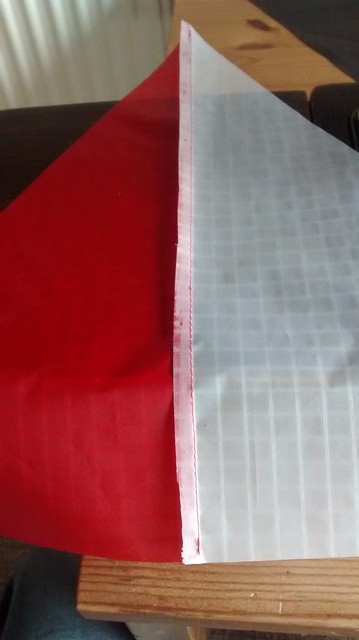
Now you may notice I have ensured there is enough fabric on the right side of this photo to account for the hem allowance I need to put in (you might not need to do this part depending on how you made up your template). I then placed my ruler end on to the right hand side of this template and put a small pencil mark at 7mm away from the template. I do this in three places, top, middle, and bottom. I then take my knife, line up the ruler with these marks and cut my first straight edge (you can even put water on the back of a metal ruler and it will help hold it). I then carefully cut around the rest of the template taking my time not to budge the template out of position. Remember to keep changing the blade as needed especially if it drags the fabric. Now when I am pretty confident the shape has been cut out I advise you to lift the scrap material away from the panel and template, not the other way around. If you then discover that the fabric is still joined slightly you wont have moved the template or upset the flatness of the panel, and you can just cut where it is still joined.
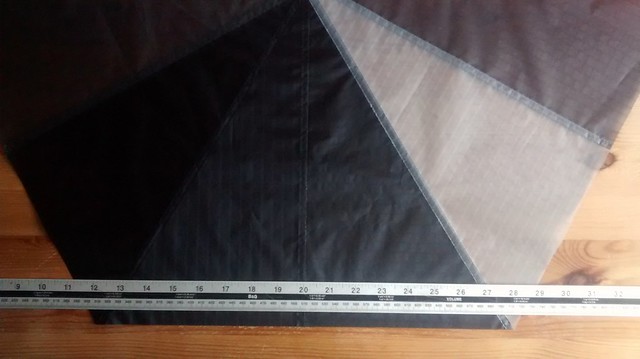
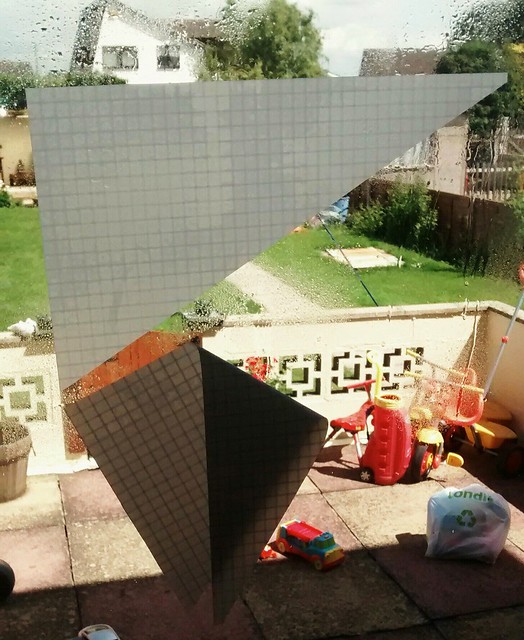
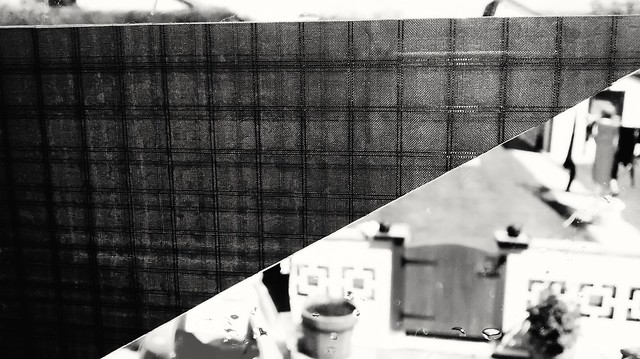
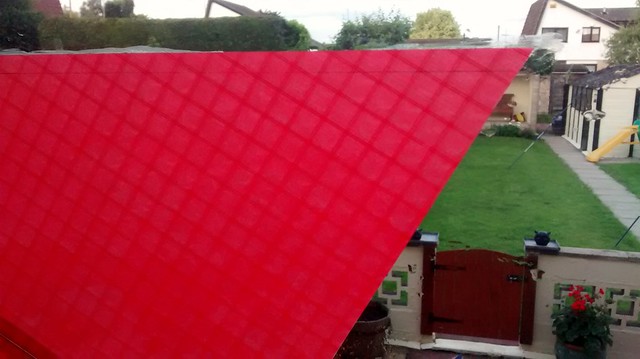
Here is the first panel cut:
Once we are happy with the first panel then go ahead and cut out the rest of the panels as needed. Note, if you are making the 'updated' panel layout then you need to flip the one template for each half of the larger triangle, as opposed to using two templates (does this make sense?)
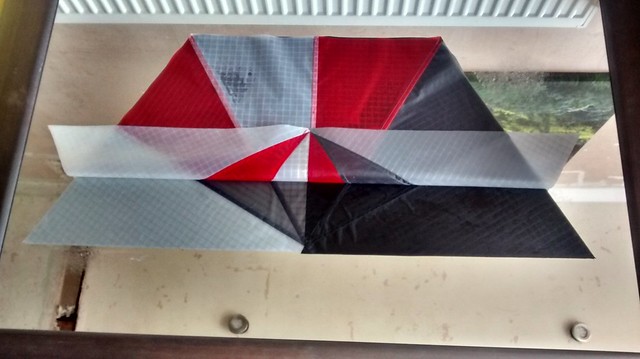
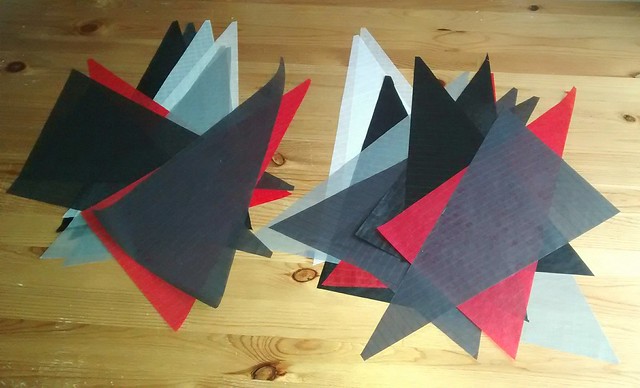
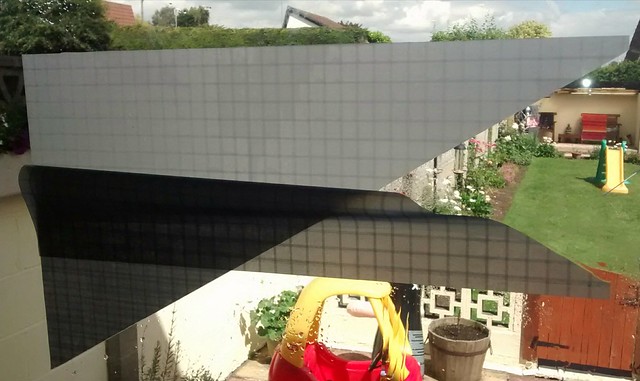
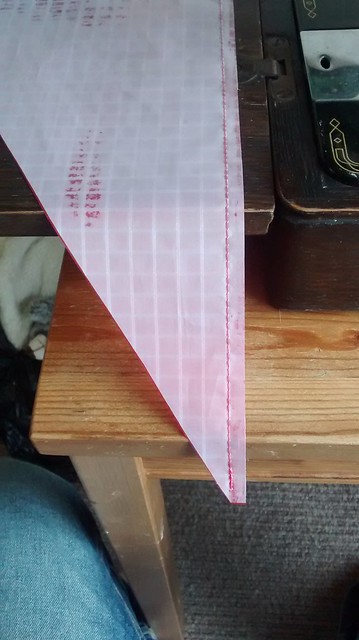
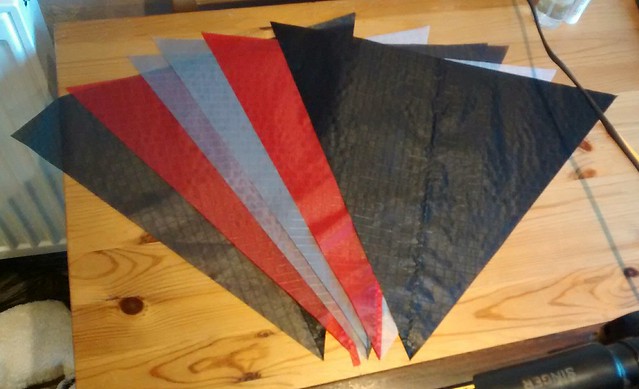
Here we go, all panels now cut out. If you look at the top most grey panel on the right side of the photo you can see that rather than being a true triangle you can see the square part - this is the hem allowance that we put onto it:
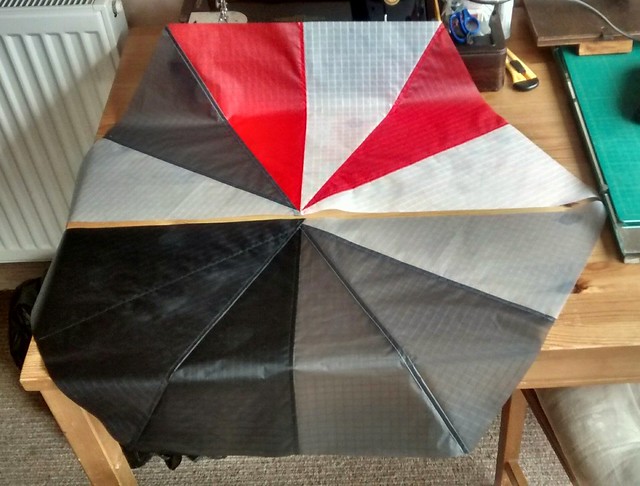
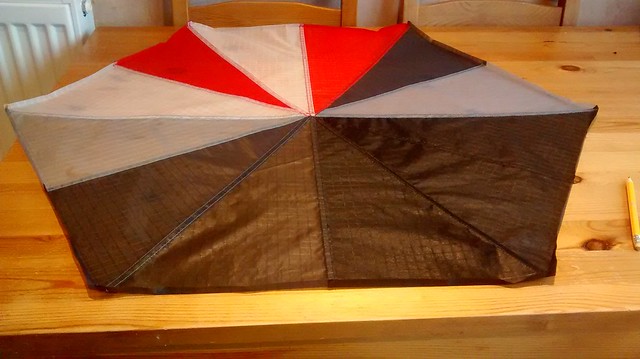
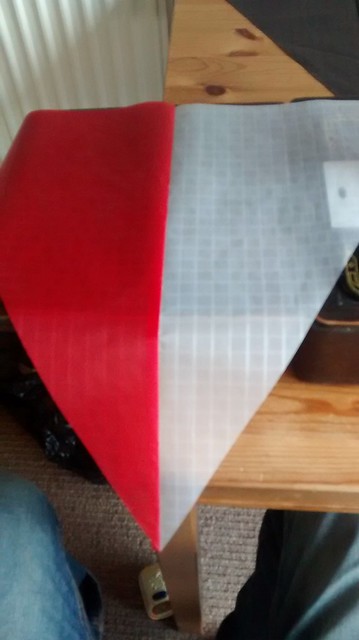
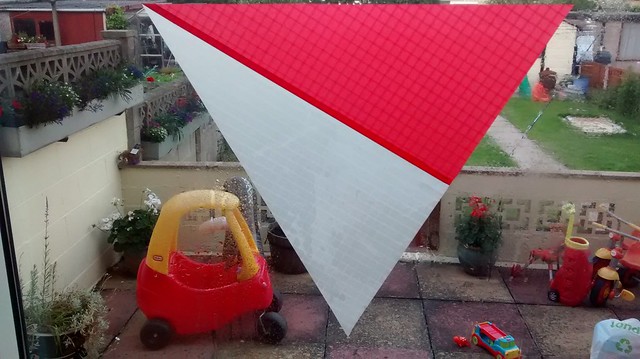
For this build I chose to use red, white, black, light grey and dark grey. You can see in this photo how it should look when sewn. The opposing asymmetry you can see on 2 panel sets is intentional. This is the left sail. The right sail will need reversing.
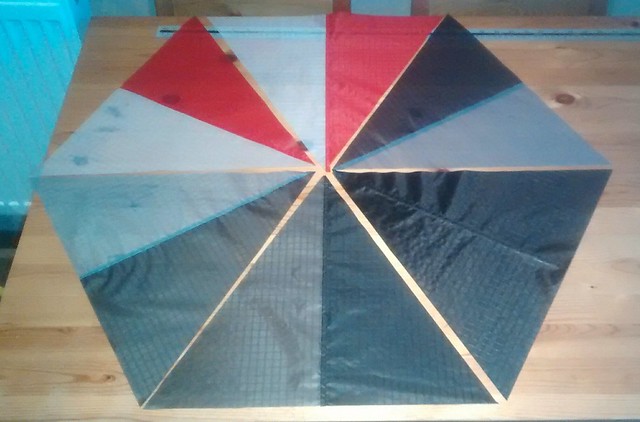
Its just something I do but I try and place my darker or 'heavier' colours towards the bottom of a build to give some visual 'weight' to it. But that is just me, you do what looks right to you.
The panels are now done and need laying up next. That is where we will start with the next post......
 .
.


 .
.