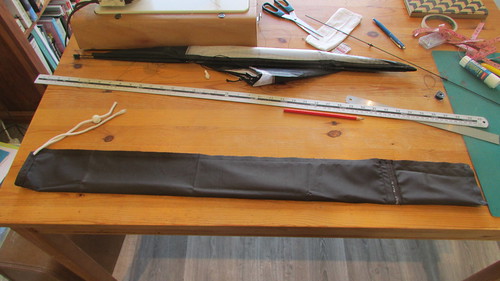
This is only one way to make a kite sleeve. It is not the definitive way. I don’t think there is one. There are many ways to make a kite sleeve – the end of closing being the biggest decision point, alongside what is it going to look like? (you want to be able to find it easily amongst all of your others kites don’t you?)
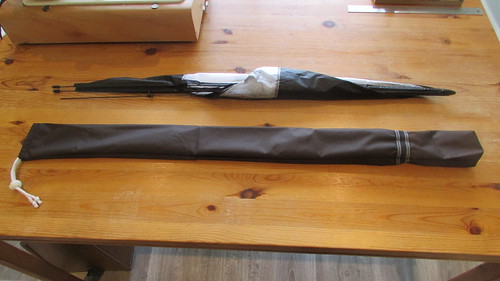
However they all have the same job to do; be long enough to hold the kite and spars, be wide enough to comfortably take out/put away the kite and spars, able to close at one end to prevent loss of the contents, offer some level of protection, and be easily identifiable in a kite bag of many sleeves. Some may also come with pockets on the exterior to put things like line into.
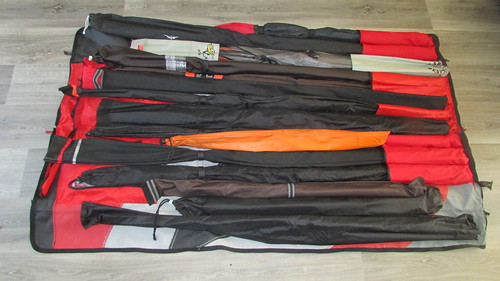
Sounds so simple. It is. But I do have some commercial kite sleeves that frustrate me. My biggest bug bear is a sleeve that barely fits, as in the ends of the wings are pointing out. Why spend time making a kite and then knock up a sleeve that doesn’t hold it? Also I dislike sleeves that are made with areas of mesh... go down the beach, and come back and tell me how much sand you came away with.
So let us take a quick look at some of the common options available to you for the closing end.
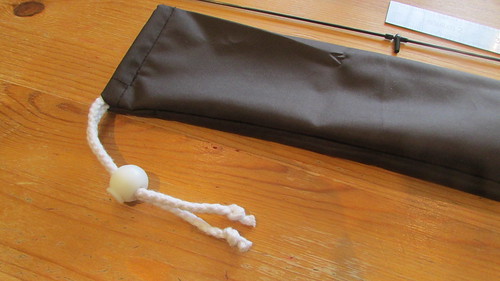
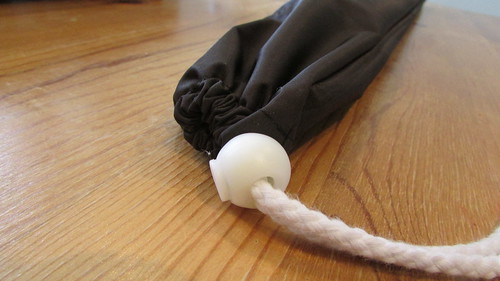
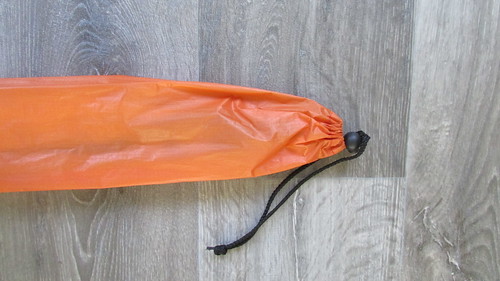
Drawstring end:
Velcro end:
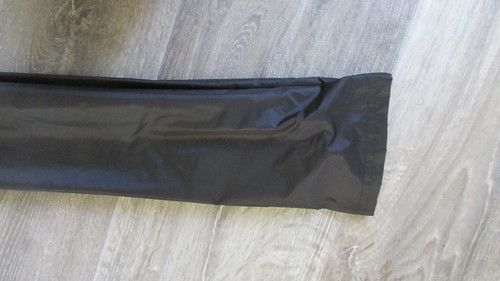
Fold over pocket end:
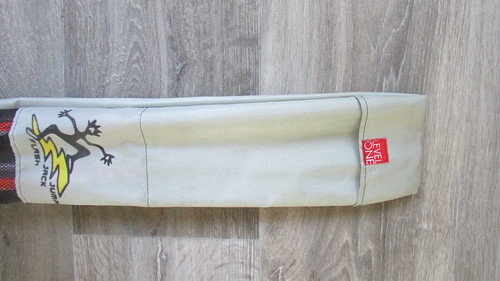
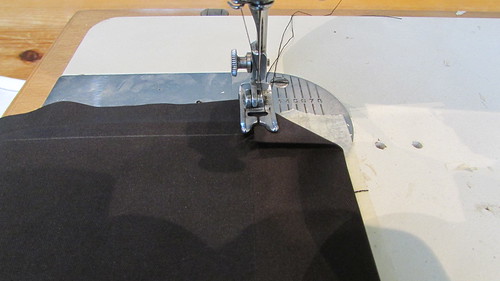
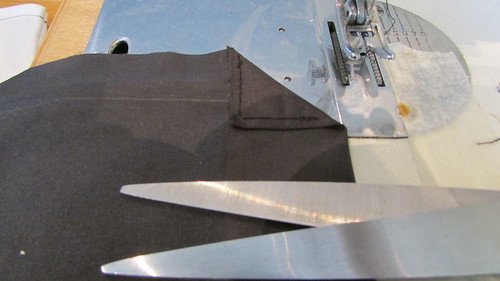
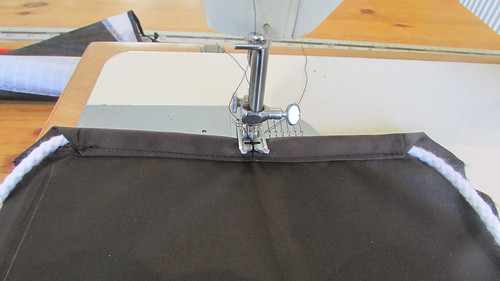
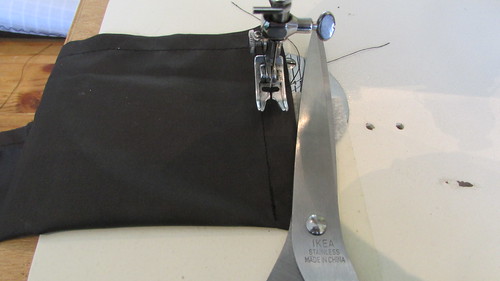
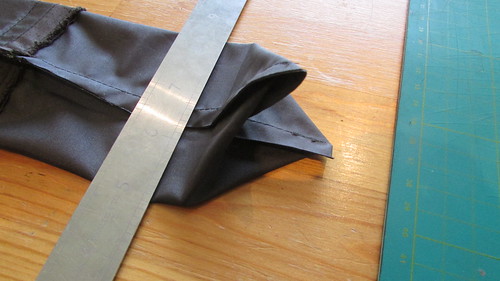
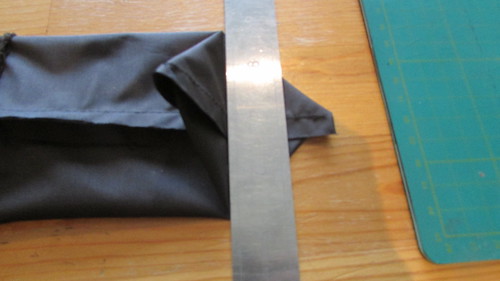
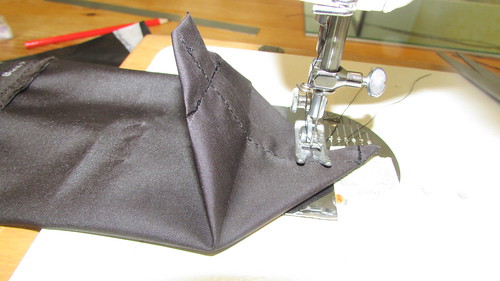
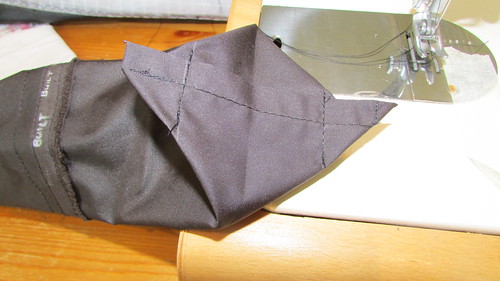
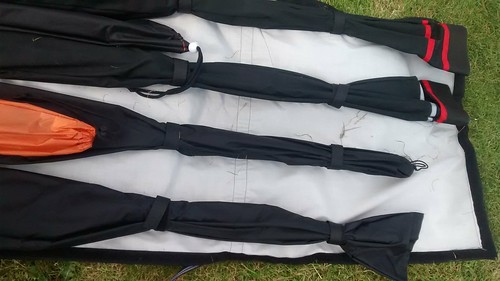
I tend to normally make a sleeve with either a drawstring or Velcro end. The latter is a lot easier to do (though a drawstring end is simple as well!), but over time the Velcro will start to show signs of wear and may need replacing at some point. I add extra life to my Velcro ends by encasing it within something tougher, my favourite method is having the Velcro sit within some seat belt webbing. I have seen very little wear if I do this. Look at the following picture to see how I use the webbing:

The Velcro is only sitting in the bottom half of the webbing. This method makes really robust sleeves and I also sometimes have been known to use seatbelt webbing at the bottom of the sleeves for extra toughness. But with Velcro I have known people to ruin a kite by being rough with getting it out/putting it away and the Velcro has snagged on something. Thankfully I have not experienced this.
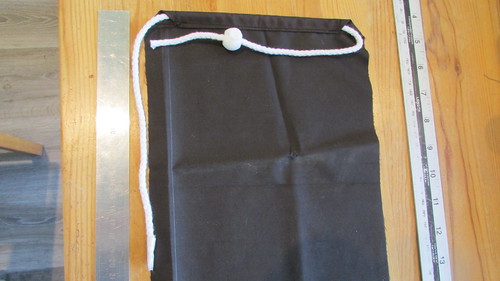
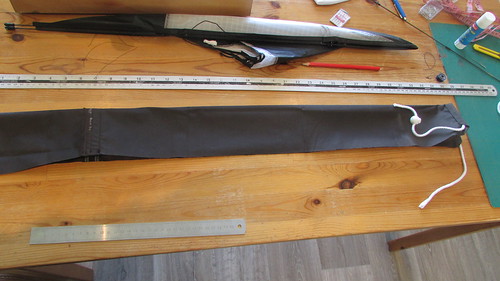
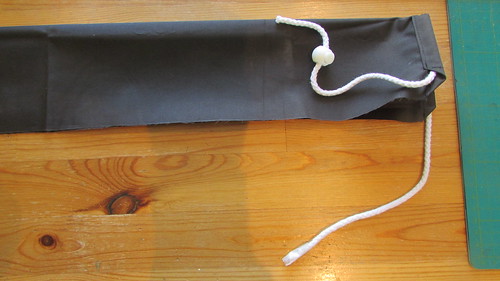
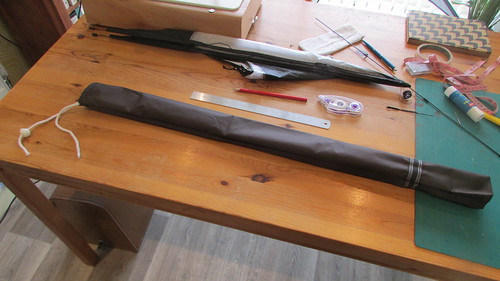
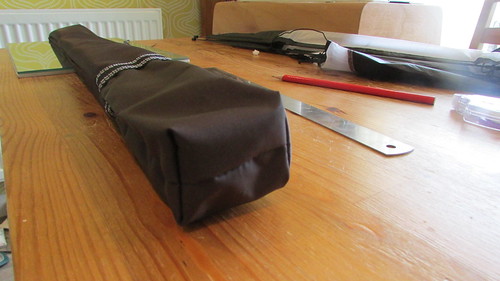
My preferred way of closing a sleeve though is the drawstring. They work well, last well, and offer good opportunities for kite identification. The drawstring toggles are pence to buy and you can use whatever you want really for the drawstring – cord, bridle line, laces etc. Just stay away from anything cotton as it will rot easily if subject to water i.e. rain. Just go into your local haberdashery store, have a look around, don’t be shy to ask questions and you will walk out the shop with what you need for the closing, if you can why not pick a drawstring that is the same colour as the kite?
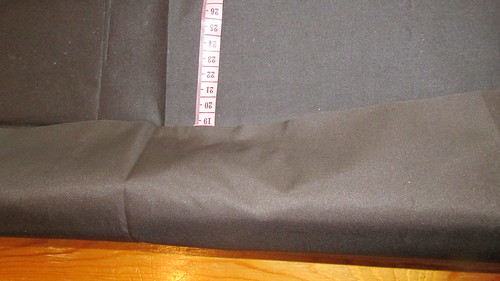
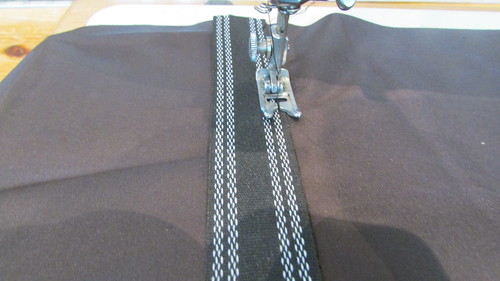
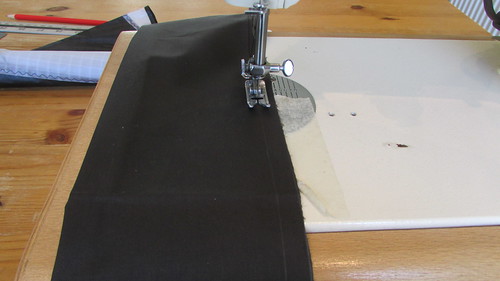
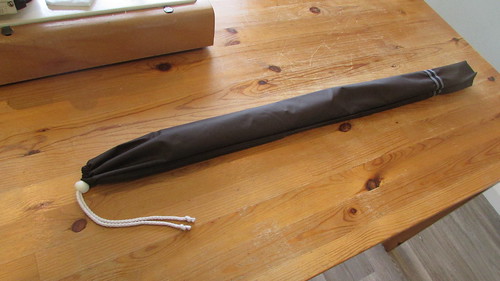
As for the overall material of the sleeve I tend to keep it simple and either use a heavy generic ripstop (again, really cheap), or find yourself some nice waterproof material (again, try your haberdashery). I like the waterproof material, not only for the obvious protection against the rain/damp grass, but also dogs just seem to love urinating on my bag/sleeves; though thankfully I have never had anything like a ‘dog attack’ – no sleeve will protect the kite from that!
Maybe it’s just the waterproof material I have got but I have to say it is an absolute swine to sew with until you get the hang of it – it is super, super slippy. Ripstop is zero problem whatsoever to sew with though.