I've spent the last few evenings putting time into the kite rather than updating the thread. It is now at the point where it is 90% done - sail made, bridle made, all reinforcements done, sticks cut, but I have had to order a piece of 6mm carbon after realising one of my intended sticks had a split running down from one end - it is lucky I spotted this as I am certain it would have failed very early on. If I am reusing old sticks I have a habit of sticking a smaller diameter rod into the tube and giving it a wiggle to see if I can see any splits. It is the first time that this habit has proven beneficial.
So where were we? That's right we are at the point of cutting out the panels. I'll split this part into two as I am tired and am in danger of falling asleep whilst typing this
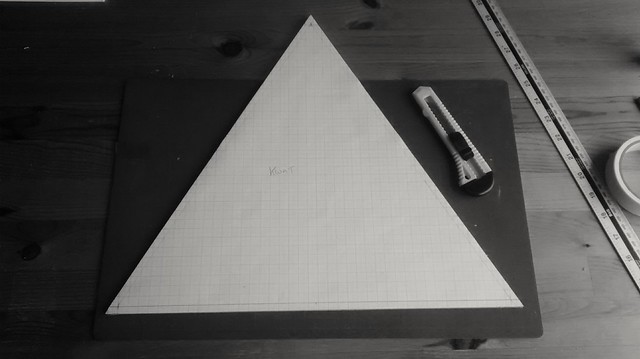
 3. Cutting of fabric
I like cutting out panels, it is the first time I get to
feel like I am making a kite. I find this part stress free, quick, and allows me to start really thinking about what techniques I want to employ in the following build steps. I have tried a few different ways to do this over the years and I now stick to what works for me.
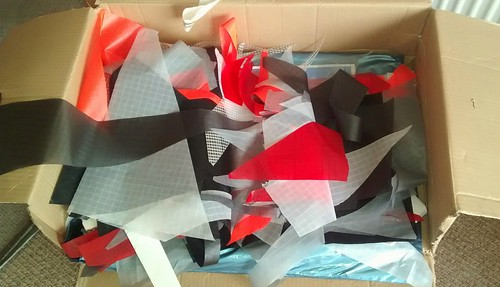
First off I cut Icarex with a knife. The way I see it is that if the material can fray then I will hot cut with a soldering iron. If it doesn't fray then I don't bother (Mylar being an exception). Now be a bit careful here....I said Icarex. Some ripstop definitely frays, so if you are using something other than Icarex then spend a few minutes getting to know the material prior to doing anything with it. Secondly, where you work and on what you work may make your life a whole lot easier. I cut and layout on glass. The surface is exactly what I want. It's smooth, doesn't burn, easy to keep clean, doesn't cut up with a knife, and just perfect for a technique I will shortly be showing you.
I think my first 2 builds were done on a table I custom made for building and although the table was perfect I used hardboard as the table top surface. I found this to be less than ideal for cutting out - using a knife just put gouges into it, hot cutting on it left a brown furry edge on the outside of the sail panel and it got dirty pretty quick. It is fair to say I would take this over the family dining table anyday but it did have its negatives. When I finally changed the top for glass it made all these problems go away. Now you don't have to use glass par se, you can get away with old shower screens, old discarded windows etc. Just don't use perspex. I tried and the soldering iron made a right mess of it and the fumes stank bad with a capital B.
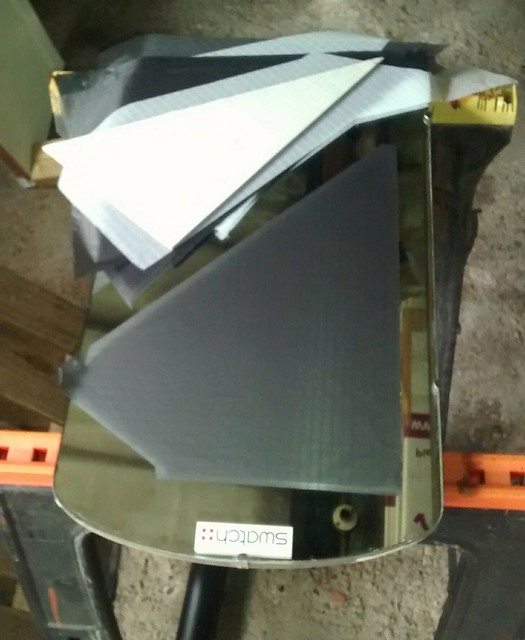
But for this build I was really keen on showing you that you don't need to have a dedicated workplace. You can get great results with a minimal amount of space. I therefore used a small mirror measuring about 40cm x 60cm (Don't go using that lovely one above the fireplace. I am not responsible for a disapproving partner lol, it
shouldn't damage it but you need to keep your loved ones sweet and not on your back whilst doing a build). and my patio windows. Yes, I did say patio windows. They are simply
amazing for laying out. Who needs a light table when you can use the power of daylight.This is one of my top tips and I have yet to find anything better.
And by the time we have finished your windows are going to be cleaner than they were when we started, so we get extra brownie points.
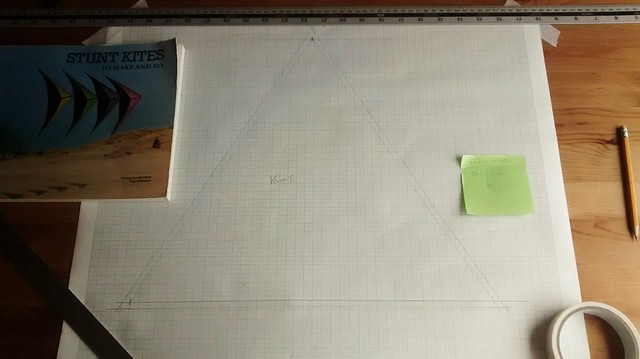
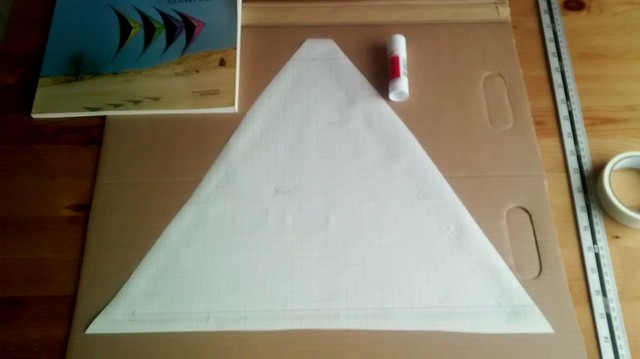
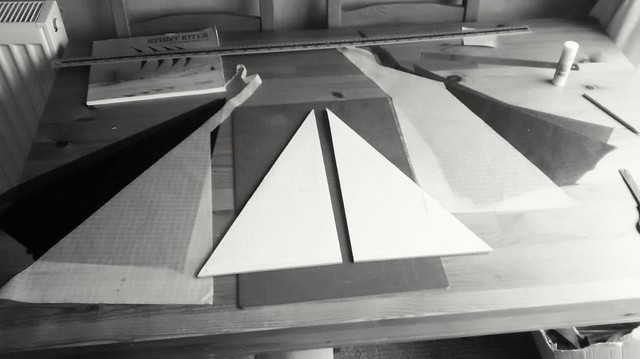
In this picture you can see what I used to cutout on. Simple isn't it; a mirror placed on two workhorses.
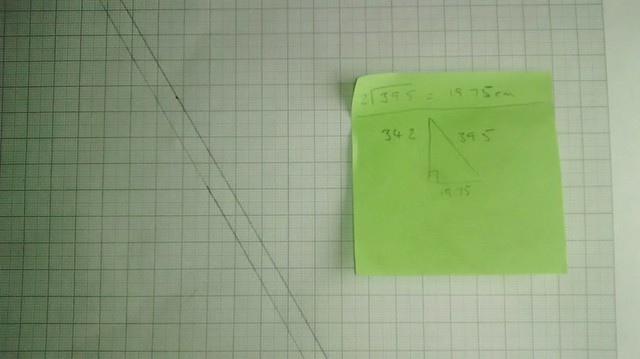
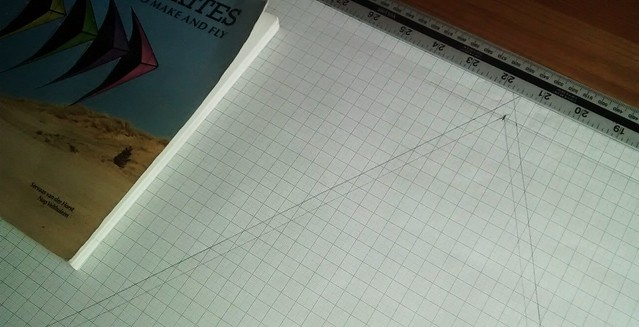
Prior to cutting anything take a look at your material. We want to make sure we cut it in the correct orientation and not skewed. This part is important as we need to try and minimise fabric stretch. A lot of modern plans tend to have on them a small grid on each panel section indicating which way the fabric should lay and it is a case of ensuring the 'grid' on your ripstop runs in the same direction as the panels grid. If it doesn't then a rule of thumb is that the ripstops 'grid' should be squared to the kites nearest outside edge. It is not always so clear if a panel is in the middle of the sail as to which direction it should run so if unsure just ask the question, take a look at build photos, or lay in bed till the early hours of the morning arguing back and forth with yourself. Once you have got your head around it you can then start to cut

So we want the Icarex to be nice and flat prior to cutting (remember build creep). If you are cutting on your kitchen table (your going to be in trouble with your loved one ::)) then it may be your only option is to use masking tape to lay it down. You
may find that you can just rub the Icarex down with your hands (best way is to hold your hands as if praying and then separate hands apart using the side parts to push the fabric out) and rely on static to hold it there but it can have a tendency to move/not be perfectly flat.
Therefore I really recommend you try a bit of glass or a mirror for this part and pay heed to my next top tip. It could be my best.
We are going to use it throughout this build.
It could change your life......(or maybe not if you are already using it


.
We are going to use a liquid that leaves no gluey residue (heck it even cleans up as we go along), is impossible to use too much, you will definitely have access to, costs next to nothing, sticks ripstop (and other materials) like you wouldn't believe and removes any need for tape whatsoever (ok
sometimes I might use tape. IMO tape is bad, but we'll address that later). It so bloody superb that at the end of this build I am going to celebrate by drinking it and it will do my body good.
What is this wondrous liquid then? Here is a photo of it in a small spray bottle
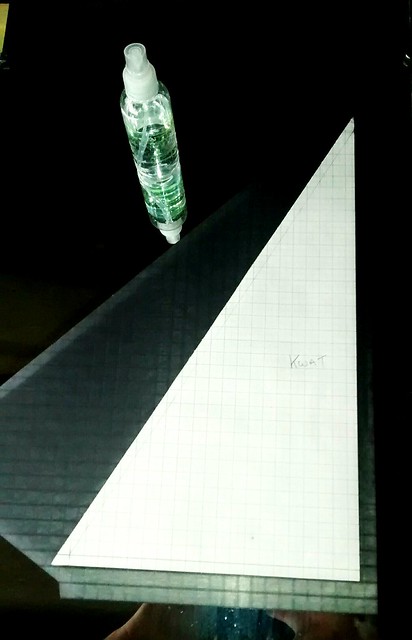
It is quite simply....
water.
That's it. The best ever multipurpose temporary adhesive. I adore using the stuff. I will discuss throughout the thread how many times I have found a use for it but every build I find there are lots more. It's the gift that just keeps giving.....
Hi Ians fingers here..he is asleep now so think on and I'll get him to continue typing when he wakes up 


 ). That parts not my fault. And that is